Hard Floor and Hardwood Cleaning: The Step-by-Step Guide to a Spotless Home
Keeping home floors completely free of dirt seems like a never-ending task, especially when living with crawling toddlers, shedding dogs, or family members sensitive to dust mites. At first glance, a smooth surface gives the false impression of being clean with just a quick sweep. However, the reality is that fine dust, animal dander and microscopic allergens constantly settle on these areas, waiting for any draft to float back up and end up in our airways.
The challenge multiplies when we talk about natural materials. You cannot treat robust marble the same way as natural oak flooring. Each material has its own tolerance to friction, moisture, and impacts. Using inappropriate tools or aggressive techniques not only lifts particles into the air, worsening allergy symptoms, but ultimately wears away the original shine, scratches varnishes, and prematurely ages the look of your rooms.
For families seeking a truly purified environment, the solution is not to sweep more times a day or use abrasive chemicals that leave artificial scents. The secret lies in trapping the dirt from the very first moment, preventing it from returning to the environment, and doing so with the utmost delicacy towards the materials. Throughout this guide, we will explain the most effective method to treat each type of smooth surface, ensuring your home breathes freshness and your floors look like the first day.
The nature of smooth surfaces and why they demand special care
When we look at a natural wood floor, we are seeing a living material that reacts to its environment. Hardwood, whether solid or engineered, has microscopic pores and grains that give it its characteristic beauty, but also act as tiny havens for the finest dust. If we drag coarse dirt over it, like small grains of sand we bring in on our shoes from the street, we are creating micro-scratches that, over the months, completely dull the protective layer of varnish or oil.
On the other hand, ceramic flooring, porcelain tiles, or marble present different challenges. Although they are notably more scratch-resistant than wood, they have an obvious weak point: the grout lines. Those separation lines between tiles are perfect trenches where dirt, crumbs, dead skin debris, and our pets' hair accumulate. A superficial cleaning goes over these crevices without extracting the embedded dirt, creating an ideal breeding ground for bacteria and dust mites.
Furthermore, the physics of dust on hard surfaces is very particular. Unlike carpets, which trap and retain particles between their fibers, smooth materials allow any breeze, the simple act of walking, or the wagging of a dog's tail to lift allergens to our breathing level. For people with asthma or severe allergies, this means floor dirt quickly becomes a respiratory issue. For this reason, the main goal should not be moving dust from one side to another, but capturing it definitively and removing it from the environmental equation.
Space preparation: the preliminary step for professional results

Before starting any deep cleaning routine, preparing the environment makes the difference between a half-done job and a flawless result. The first step consists of clearing the area as much as possible. Lift the chairs, move lightweight side tables aside, pick up children's toys, and remove pet beds. By having a continuous, obstacle-free surface, you not only save time maneuvering, but you also avoid leaving blind spots where lint tends to group and form dust mite nests.
The next critical point is the choice of contact tools. If you are going to treat wood, make sure to use a brush specifically designed for this purpose, preferably with soft, natural bristles that caress the varnish instead of attacking it. The wheels of the accessories must also be made of rubber or gentle materials that do not leave marks when turning or moving. Checking the base of the brush before starting is an excellent habit; sometimes, a small glass fragment or sharp stone may have gotten caught in previous cleanings, and dragging it across the living room would be disastrous.
Finally, preparing the filtration equipment is what guarantees the air in your house benefits from the process. Filling the tank with clean tap water is the most powerful gesture you can make for your family's respiratory health. By using water as a barrier, you ensure that everything you collect, from your golden retriever's longest hair to the invisible pollen that came through the window, gets trapped in a liquid whirlpool from which it cannot escape. If you wish, adding a few drops of natural essences to the water will transform the task into an aromatherapy session, leaving a trail of real freshness in every room.
Step-by-step technique to pamper wood floors

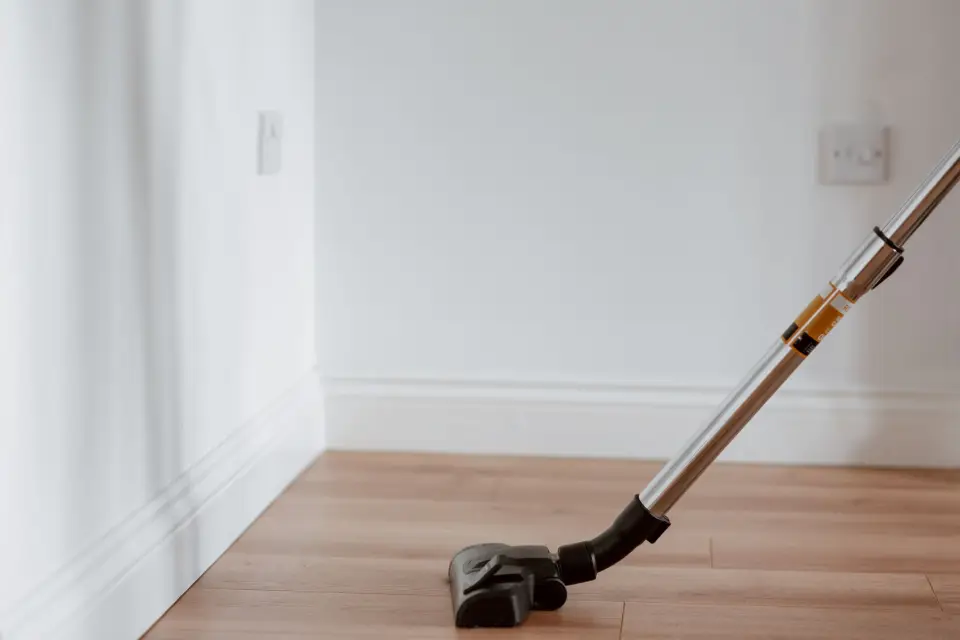
Working on wood requires method and gentleness. Always start from the corner furthest from the room's entrance door and move towards the exit. This way, you avoid stepping on the areas you have already treated. The movement should be fluid, without exerting excessive downward pressure. Let the suction power do the heavy lifting; your only job is to guide the brush over the surface. A very common mistake is pressing against the floor believing it cleans better, when in reality we only increase the risk of damaging the material.
A fundamental aspect when treating hardwood is following, whenever possible, the direction of the wood grain. By sliding the tool in the same direction as the boards' natural lines, we facilitate the extraction of microscopic dust that settles in the subtlest textures. Additionally, this technique prevents backlight marks and ensures the brush bristles effectively sweep away any particles trapped in the expansion joints between the planks.
When you reach the baseboards and corners, pay special attention. These are the favorite places for dog or cat hair to form those annoying tumbleweeds that seem to have a life of their own. Use short, precise movements on the edges. The advantage of having a constant and powerful airflow is that you can bring the brush close to the skirting board and watch the dirt get pulled inside without needing to bump the wood. Upon finishing, the flooring will not only be residue-free but will keep its protective layer intact, prolonging its lifespan for decades.
Effective strategies for ceramics, marble, and glossy tiles

Tile and natural stone surfaces allow us to be slightly more energetic, but they require attention to specific details. In the kitchen or bathrooms, it is common to find heavier dirt: breadcrumbs, potting soil remnants, cat litter, or small broken glass. Before moving on to general areas, do a quick pass over these concentrated dirt spots. By removing the largest and most abrasive particles first, we avoid accidentally dragging them across the rest of the hallway or living room.
The real challenge on these floors is the grout. Depending on your home's design, these lines can be wide and deep. This is where sustained suction proves its worth. Pass the brush slowly over the joint lines, allowing the air force to lift embedded dirt. If you notice an area is especially darkened by accumulated dust, you can make cross passes (first horizontally and then vertically) to ensure the airflow penetrates from all possible angles.
Polished marble and granite act as mirrors on your home's floor. Any layer of fine dust, no matter how minimal, diffuses the light and makes the room look dull and neglected.
To maintain that spectacular shine of marble or porcelain tiles, the total elimination of fine dust is non-negotiable. The constant friction of slippers over a layer of micro-dust acts like extra-fine sandpaper that, day by day, kills the stone's natural shine. By using a system that does not return microparticles to the environment, you guarantee the floor is left completely bare and neat, reflecting natural light from the windows in all its splendor, without needing to constantly apply chemical waxes or artificial polishers.
The impact of water filtration on family quality of life

When we talk about household chores, we rarely stop to think about the aerodynamics of our rooms. The simple act of walking already lifts millions of invisible particles. If we add to this the use of traditional brooms or cleaning systems with clogged paper filters, what we do is create an invisible storm of allergens. For a healthy person it may go unnoticed, but for a child with asthma or an adult with allergic rhinitis, this storm triggers sneezing, itchy eyes, and nights of poor rest.
The paradigm shift occurs when we introduce water as a purifying element. Nature has been using rain to clean the atmosphere for millions of years; applying this same principle indoors is pure logic. By relying on the delphin t8 technology, every dust particle, mold spore, or pet dander flake that is suctioned from the floor violently collides with a water whirlpool. Water does not have pores that clog, it does not lose effectiveness after five minutes, and, most importantly, it does not allow dirt to escape back out the exhaust.
This level of purification transforms the cleaning routine into environmental therapy. While you work on your hard floors, the room's air is being washed at a dizzying pace. Bad odors disappear at their roots, as the bacteria causing them drown and are neutralized in the liquid tank. The end result is an environment that truly smells clean, of natural freshness, providing immediate and prolonged relief for all family members, especially those with more sensitive respiratory systems.
Care and maintenance to protect your long-term investment
Once you have finished leaving your floors spotless, the process does not conclude until the equipment is clean and ready for its next use again. The first step is to turn off the system and remove the water tank. Seeing the color of the resulting water is often a revealing experience; that dark, dense liquid is irrefutable proof of everything that previously resided on your floors and floated in your air. Dispose of the dirty water down the toilet and flush, physically eliminating the dirt from your home forever.
Next, it is essential to rinse the wet components. Run the tank under the tap to remove any sand residue or hair stuck to the walls. Do the same with the particle separator, that key piece that spins at high revolutions. Keeping this element free of buildup ensures the motor works effortlessly and that the dirt retention capacity remains at its highest level for years. A quick two-minute rinse will save you performance issues in the future.
Finally, drying and storage are vital to prevent the proliferation of bad odors. Never store your vacuum cleaner with water in the tank or hermetically seal the wet parts. Let the tank and accessories air dry before reassembling them. Storing the equipment in a dry and accessible place, with its brushes clean and free of tangled hair, will guarantee that the next time you need to treat your hardwood or ceramic tiles, the experience will be just as efficient, fast, and satisfying as the first day.
Frequently Asked Questions
Is it safe to use a high-power system on delicate wood floors?
Completely safe, as long as you use the right accessory. A soft natural bristle brush designed for hardwood will protect the varnish, while the high power takes care of extracting fine dust from the grain without needing to scrub or apply pressure.
How often should I deep clean my floors if I have pets at home?
With dogs or cats, the ideal is to perform a deep cleaning at least twice a week. This prevents hair from accumulating in corners and animal dander from embedding in tile grout, thus protecting family members with allergies.
Why does marble lose its shine and how can I prevent it?
Marble loses its shine due to the micro-abrasion caused by stepping on fine dust and sand. By removing these particles efficiently and without dragging them, you avoid the sandpaper effect, maintaining the stone's natural polish for much longer.
Does the tank water need to be at a specific temperature to clean better?
No, water temperature does not influence dust retention capacity. You can use cold tap water without any problem. What is truly effective is the mechanical action of the water trapping dirt particles and allergens.
What do I do if liquid or wet food spills on the kitchen floor?
First, pick up the excess liquid or large remnants of wet food with absorbent paper or a cloth. Once the area is dry, you can run the equipment to extract any crumbs, dust, or fine dirt left around, ensuring total hygiene.